Propellant Grain Preparation
Most everyone who makes their own sugar propellant motors have developed a preferred method in their preparation. Most of these methods involve melting together a given sugar or sugar mixture, an oxidizer (usually potassium nitrate) and perhaps an additive such as iron oxide (burn rate modifier). The molten propellant mixture is then transferred to casting tubes of the desired size where it can cool and harden. This page details the method that I have developed over the years that I use most often in my grain preparation.
1. Oxidizer Preparation
I first weigh out the desired amount of oxidizer that I want for my propellant batch. I often grind my oxidizer to a very fine powder using a K-Tec wheat grinder. This method of grinding produces very fine powder which delivers 5 to 10% better propellant performance than obtained if unground oxidizer is used. If I have freshly ground some oxidizer, it is used, as is, in the preparation of my propellant mixture. If it has been sitting around for more than a day or two it tends to agglomerate to some degree. Around 85% of a freshly K-Tec ground oxidizer will pass through a 200 mesh sieve whereas only around 75% of the same powder that has been stored for a week or more will pass through the sieve. In order to break up the agglomerization as much as possible I pass oxidizer that has been stored for some time through a fine mesh flour sifter before use. If I am lazy (happening more and more as I get older) I use the oxidizer "as is" out of the fertilizer bag. This KNO3 is in a granular form much like table salt. When this granular form is used, one obtains a slurry when sorbitol or other low viscosity sugar alcohol fuels are used. This slurry is pourable into larger casting tubes (38mm and above). This greatly simplifies the propellant casting but some performance is lost.
2. Sugar Preparation
If melting low viscosity sugar alcohols, I next weigh out the desired sugar(s) into a stainless steel vessel if I am using a small convection oven as my heat source. The sugar is transfered directly into an electric skillet if the use of a skillet is my desired heating method. I have come to use the skillet method more an more as it is a much quicker method. If using a stainless steel vessel, it is placed in a microwave oven and the sugar is heated, on high, until the sugar has all melted. (Yes, you can heat and melt sugars in a metal container in a microwave, but in no case should you ever attempt to heat the sugar/oxidizer mixture in the microwave.) I have found that it generally takes about 7 minutes to melt 350g of sorbitol in my large microwave.
3. Ingredient Blending
If I am using finely ground oxidizer in my formulation, I like to add a small quantity of surfactant to my molten mixture. This greatly reduces the propellant mixture viscosity and thus allows the final mix to easily be poured into casting tubes. This surfactant is added to the molten sugar and mixed well. The oxidizer, previously ground and/or sieved, is then added and stirred into the sugar/surfactant mix. If a burn rate catalyst such as Iron oxide is part of the formulation, it is added at the same time as the oxidizer. This complete mixture is blended well for about a minute using a wooden dowel. This mixture is now placed in a small convection oven which has been preheated to desired temperature (usually 275 F for sorbitol, this temperature will be higher for other higher melting point sugars). The propellant mixture is then allowed to reheat for about 15 minutes. After this reheat period the mixture is stirred again for about a minute to finalize the mixing. The propellant mix will also be much less viscous than it was when first placed in the oven. After stirring I usually then place the well mixed batch back in the oven for another 15 minutes to maximize the viscosity reduction that can be achieved. If using a skillet as the heat source all ingredients can be placed in the skillet and then heated to the desired temp.
4. Vacuum Processing (optional)
I like to vacuum process my propellant. A typical 38mm propellant grain 46mm long with a 3/8" core will weigh about 58g without vacuum processing. Vacuum processed propellant poured into the same size casting tubes will weigh about 61g. This equates to about 5% more propellant and thus 5% more energy per motor. Vacuum processing a propellant mix containing surfactant can be problematic if no particulate is present (such as iron oxide) as the mixture tends to foam more. In order to minimize this phenomenon a defoamer is added to the molten propellant after it comes out of the oven for the final time. An excellent defoamer to use is a low viscosity (~ 20 cSt) silicone oil, and is effective at around 0.1% by weight on top of the formulation. This defoamer is quickly mixed into the melt and then a vacuum is applied to the propellant. I have the ability to view my vacuum degassing via the use of a vacuum apparatus used by jewelers in lost wax casting. Because I can see my propellant mixture during the application of the vacuum, I can manually control the amount of vacuum applied in order to ensure that the molten propellant does not foam up too high in the stainless steel vessel. Once maximum vacuum has been applied, the bubbling melt is allowed to evacuate for about 5 more minutes. The vacuum is then released and the propellant is ready to pour into casting tubes. If the propellant has cooled too much and the viscosity of the melt has become too high I place the degassed propellant back into the oven for a few minutes. The propellant does not "regass" during this reheat, if needed.
5. Grain Casting
If vacuum casting was not carried out on the formulation then the propellant melt obtained at the end of step 3 is usually held at 275F for a 30 minute time frame to allow any bubbles in the mix to rise to the surface and pop as much as possible. All bubbles collapse upon vacuum release for vacuum processed propellant.
My molten propellant is poured into thin walled (typically ~0.015 to 0.030" wall thickness) paper casting tubes. These tubes are either purchased and cut to length (RCS or Always Ready Rocketry) or have been purchased premade. Many people roll their own. I had a large quantity of precut, 38mm casting tubes (46mm long) made for me by a paper tube manufacturer (Jonesville Tube). These tubes required a $150 minimum purchase (over 2500 tubes) but cost 6 cents a tube vs. the ~25 cents a tube if cut from RCS stock. The biggest upside is that I do not have to take the time to glue, roll and cut these, a huge time savings. I prepare my casting tubes for pouring by sliding them inside of a similar length piece of stiff phenolic motor liner (salvaged from previous HP motor launches which used commercial AP propellant). The casting tube/motor liner pair is then slid into a premade hole about 1/2 inch deep drilled in a wooden block. Forstner wood drill bits can be used to drill these holes and match up very well to fit 18 through 54mm commercial motor liner tubes which the casting tubes slide into. I generally outfit my propellant grains with either central or moon burner type cylindrical cores. Thus a hole to house the coring rod is drilled either in the center or at the wall edge of the casting tube as it resides in the wood block hole. I also place at the bottom of the 1/2 inch hole drilled in the wood block a small disc of non-stick baking mat. This non-stick mat can be purchased in stores such as Target. These mats are a thin, black paper like material and are used for baking cookies, etc. This non-stick surface makes the removal of the hardened grains a snap after they have cured. Once the casting tube/motor liner pair is placed in the wood block hole and the coring rod is pressed into place the molten propellant (see surfactant in action) is then poured into the casting tubes. I use Teflon rods for most of my coring rods, although I have found that Delron works better for the 1/4 inch cores I use in 29mm grains. The tubes are generally filled with propellant to the level of the casting tube or a bit "over full". I generally allow the poured grains to cool for about an hour (for sorbitol) and then each grain is fitted with a centering cap. These caps are prepared in exactly the same way as the wood block hole was prepared, generally using 1" (3/4") board stock. Poured grains are then stored level and upright in a dry area until fully hardened (crystallized). This can take up to 48 hrs with sugars such as sorbitol.
6. Grain Finishing
I find that I often have propellant sticking up above the level of the casting tube after the grains have cured. If this is the case the final step of my grain preparation process is to finish both grain ends to eliminate any of this protruding propellant . To do this I simply heat my convection oven to a suitable temperature 25 to 50F above the melting point of the sugar used in the formulation. The oven has a "no spill" flat bottom tray that, when up to temperature, is used as a "melting surface". A grain face to be finished is pressed onto the hot tray surface and any propellant that comes in contact with the hot tray surface melts. A tool such as a wooden dowel or a spatula is scraped across the grain face to remove any excess propellant at a level even with the end of the casting tube. The coring rod is left in the grain but pulled out to a point where it is level with the grain end. This prevents any molten propellant from filling up the core end. Once one end has been smoothed the coring rod is pushed or pulled to the other end of the grain and the other face is smoothed. Once both faces have been leveled then the grain is placed back in a dry location to rest until the grain faces have hardened. For some sugars such as mannitol which have very high melting points it is easier (and perhaps safer) to finish the grain faces by sawing them smooth. I do this with the use of a chop saw. If using a skillet, grains can be finished on the hot surface of the skillet bottom.
7. Safety Considerations
Always remember that the process of grain preparation is one of the most dangerous steps in rocket motor preparation. If you should use all or part of the method that I describe above to prepare sugar motor propellant grains the following should be noted: 1. Do not use a microwave to heat any fully formulated propellant, 2. Smoothing grain faces results in small amounts of excess propellant - dispose of or recycle properly, 3. If an oven is used, it should be a convection type of oven which circulates heat efficiently. This eliminates hot spots which could ignite the propellant. Such an oven heats propellant slower than a skillet or some other heating methods but I consider it much safer than many heat sources. If using a skillet, make sure that the hot spots where the heating element is located do not get hot enough to cause significant charring. 4. Grains should be weighed after they are finished to check for any large weight differences. A lighter than normal grain may indicate the presence of dangerous air voids in the propellant which would increase burn surface area and could cause a CATO when used in a motor. I rarely notice grain weight differences of more than 0.5g for 38mm grains and perhaps at most, a one gram difference in 54mm grains when using vacuum processed propellant. If you drop a finished, hardened grain chances are that you might have fractured it or induced cracks in the propellant web. Be very careful in using such a grain in a motor.
K-Tec

Wonder Mill
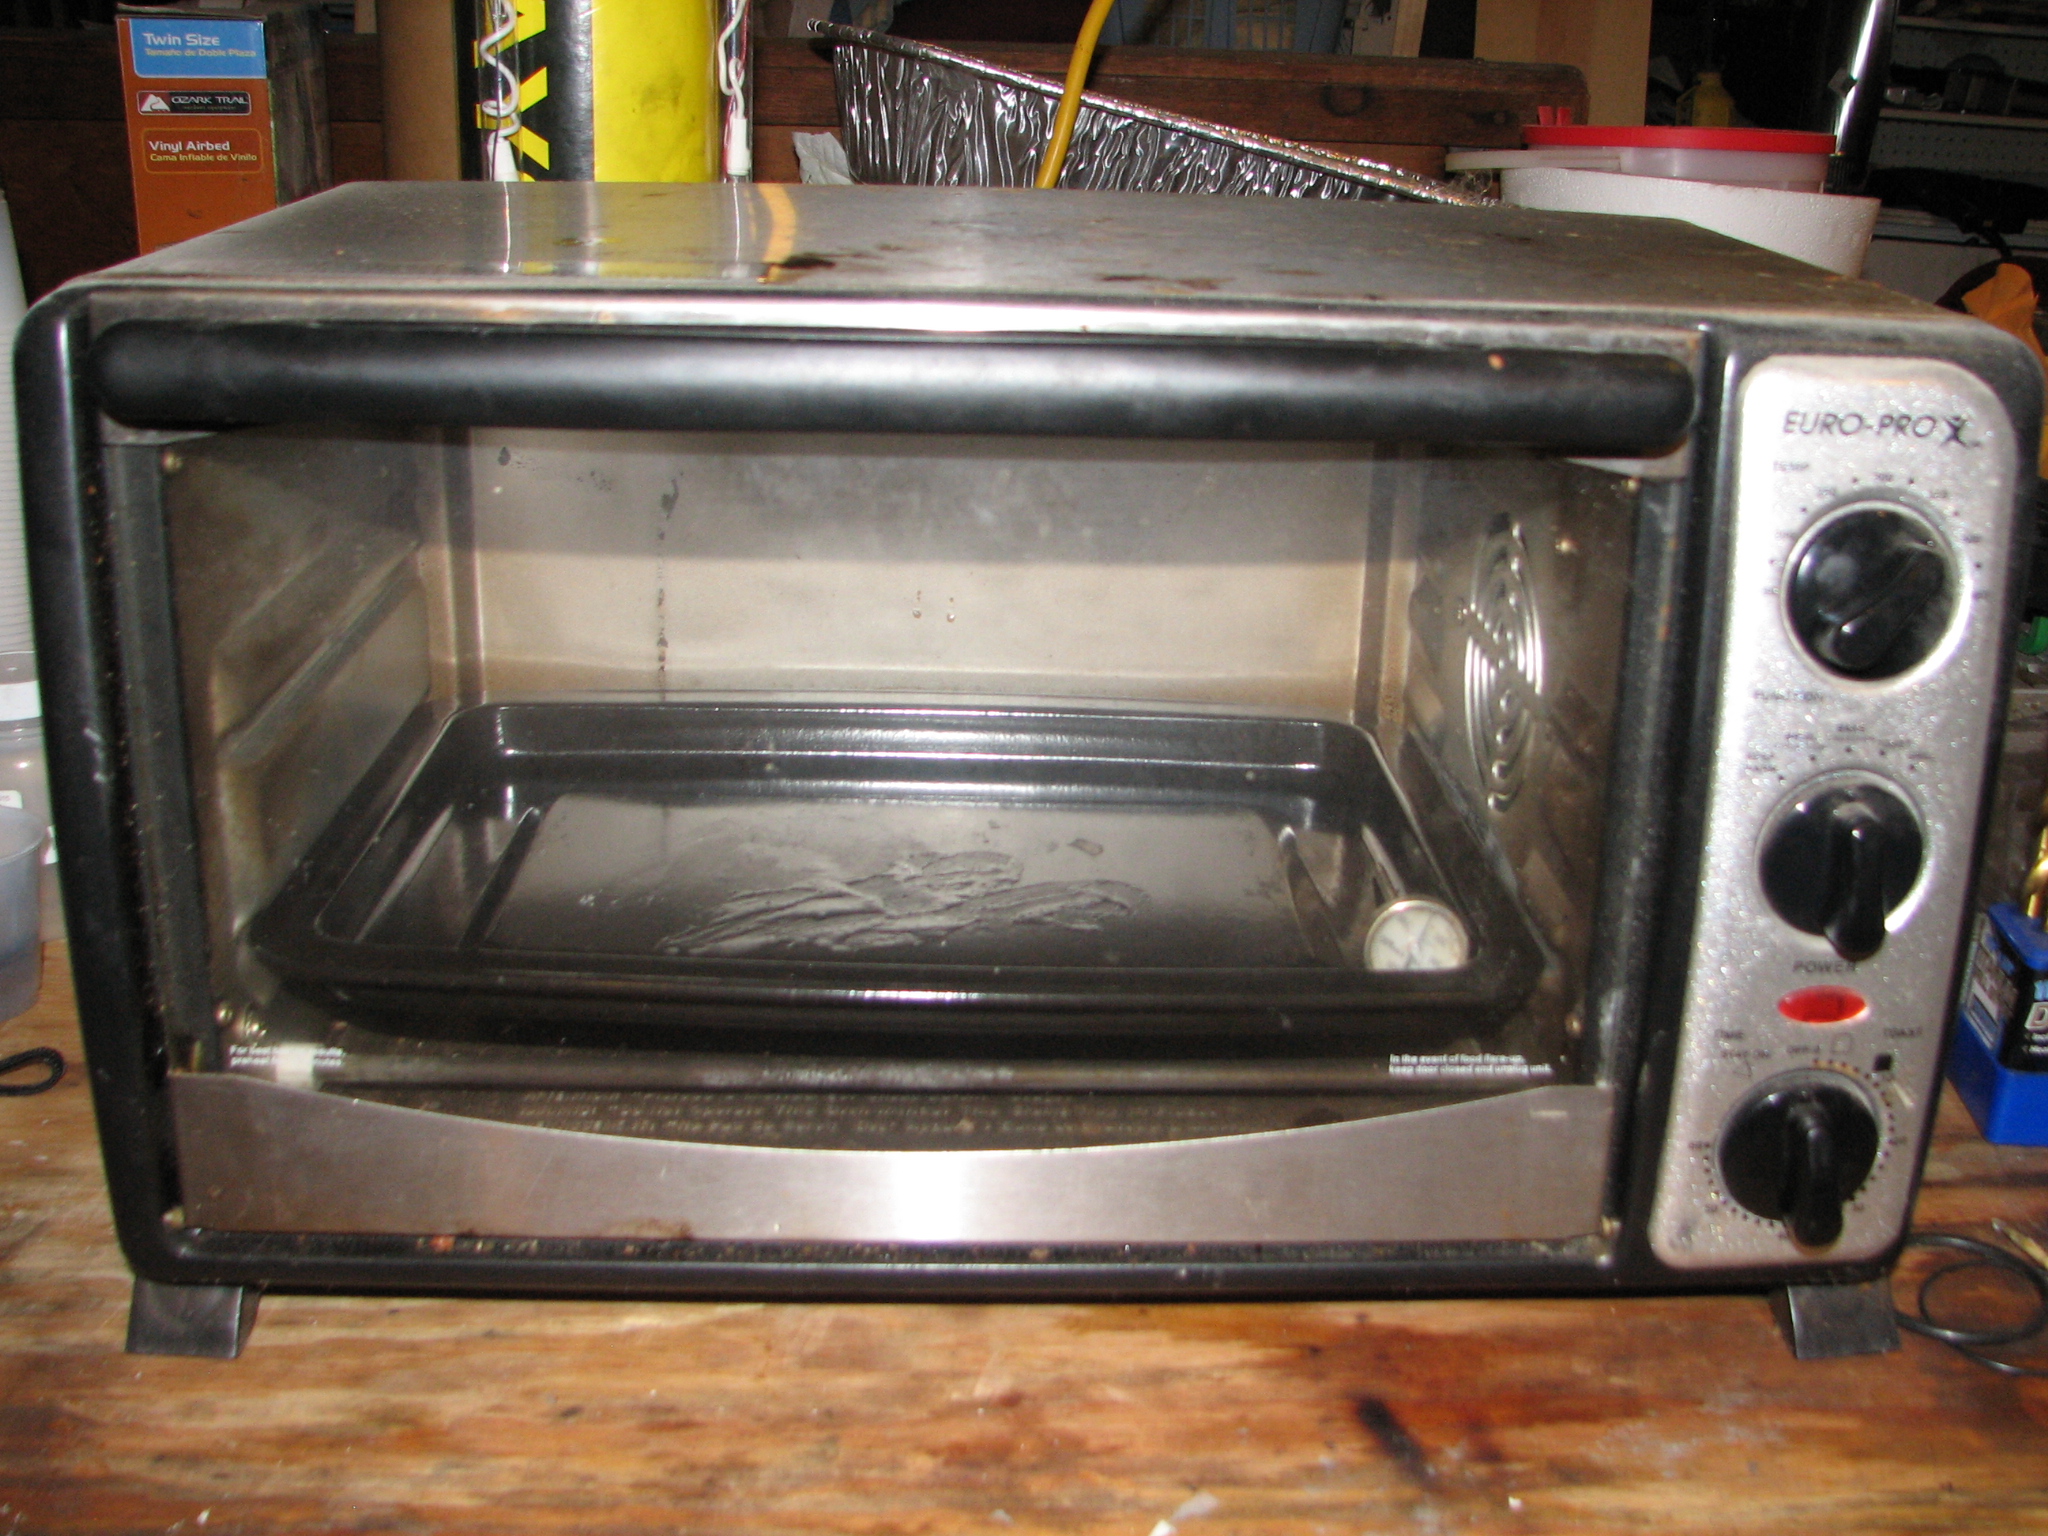
Small Convection oven with metal catch tray

Vacuum processer
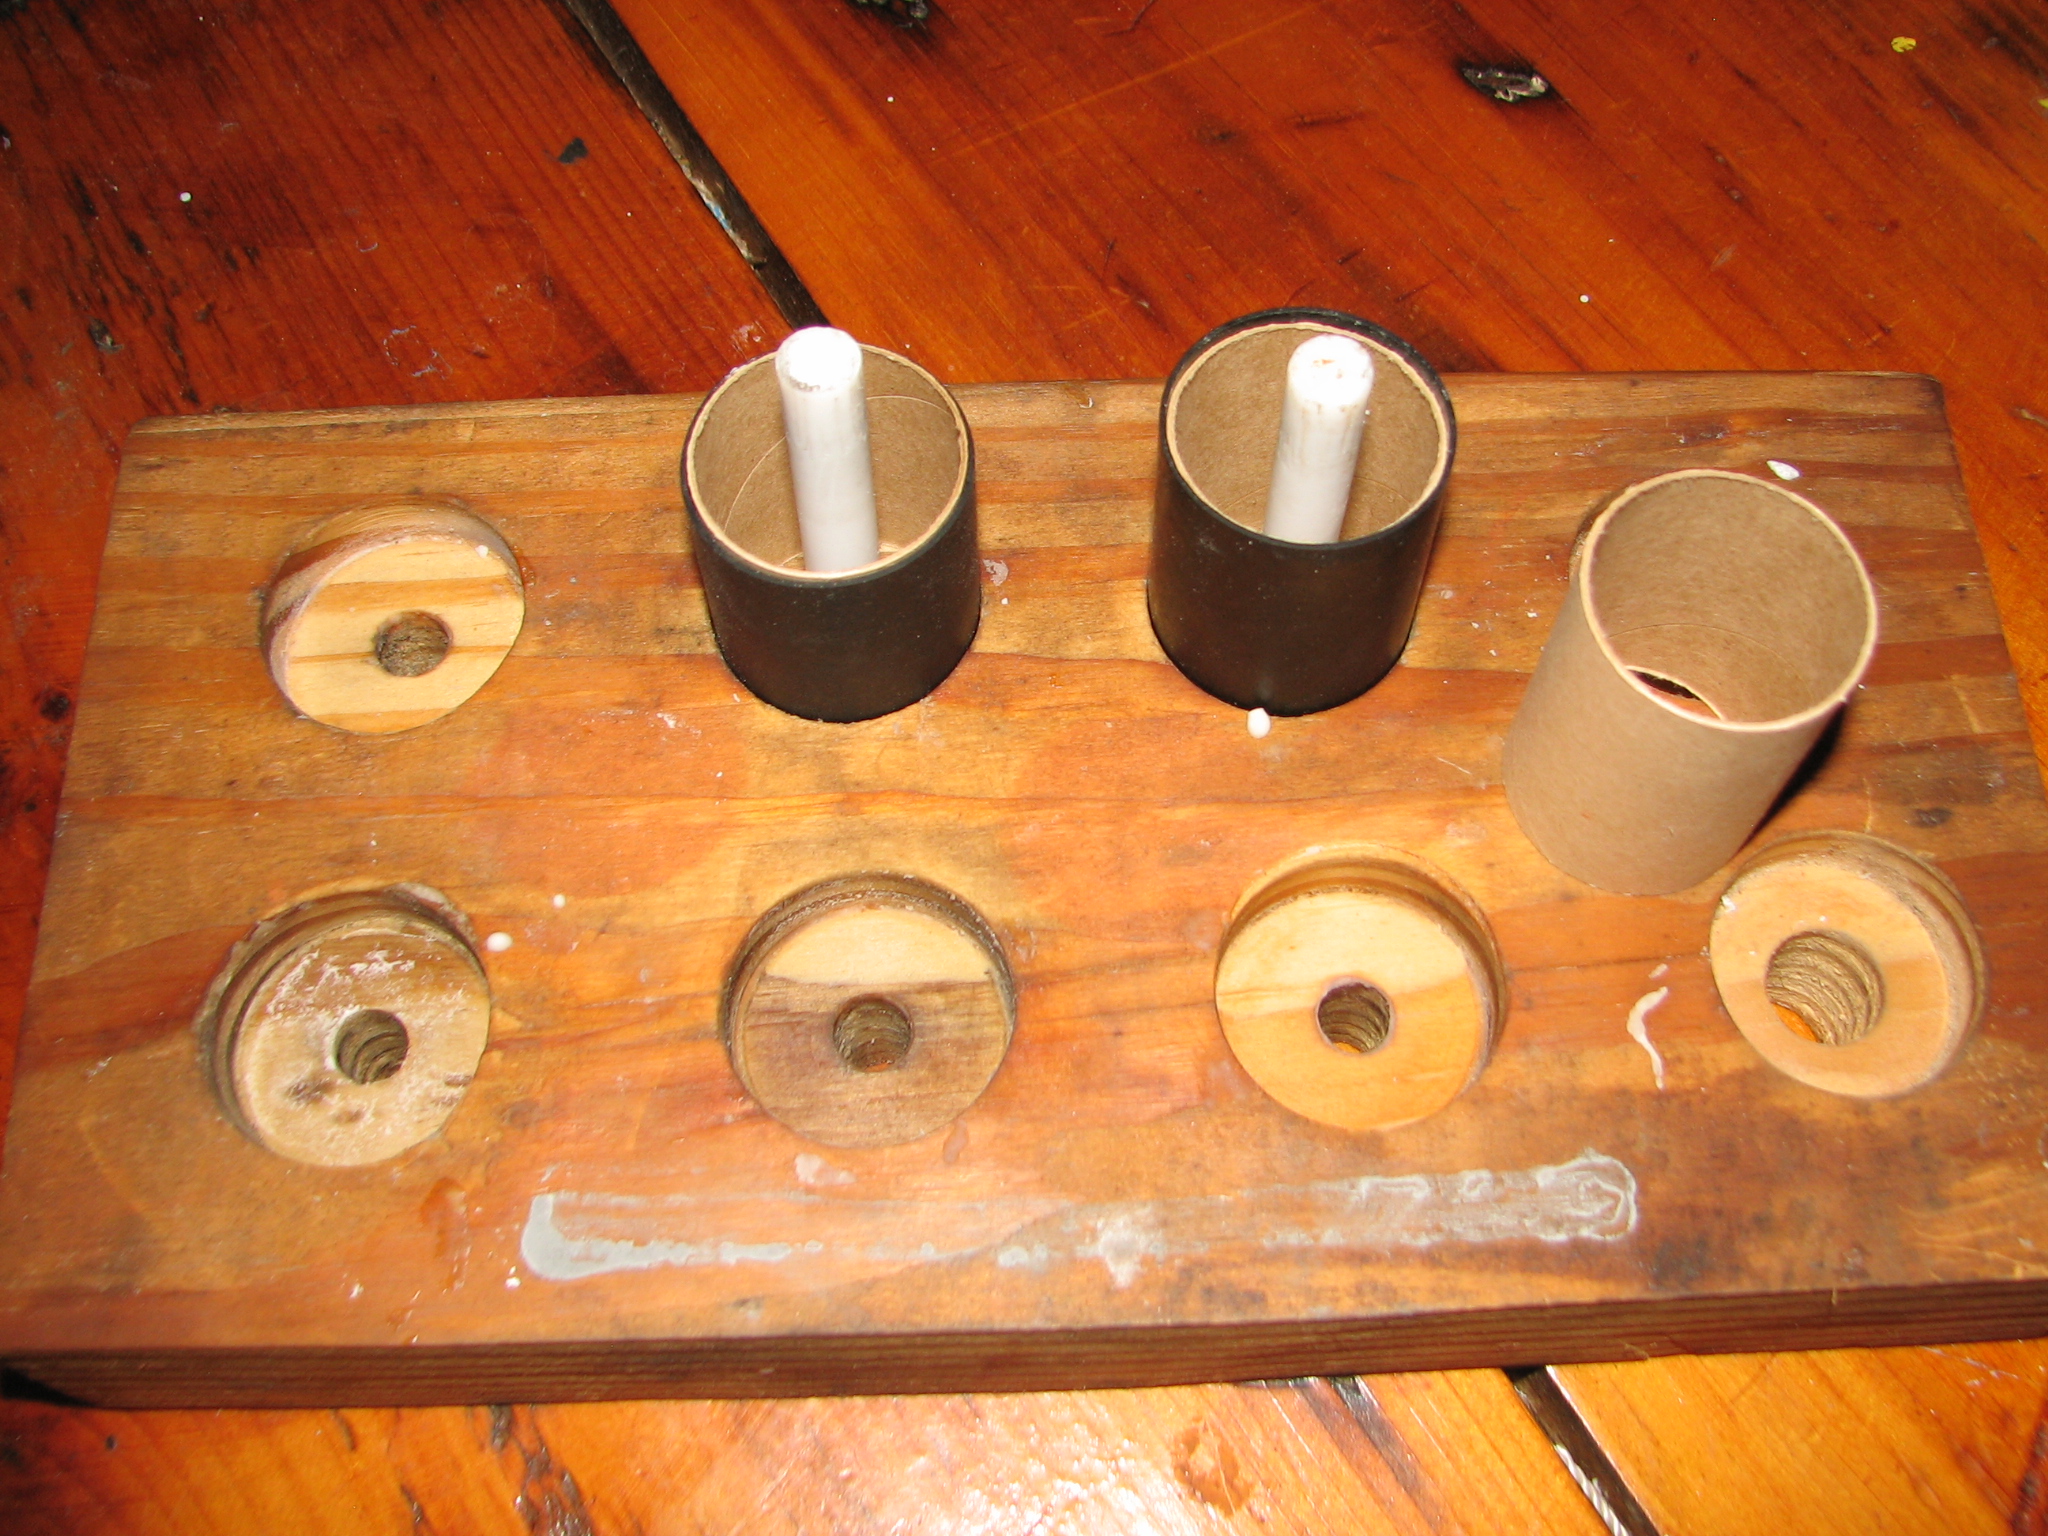
Grain Casting Set-Up
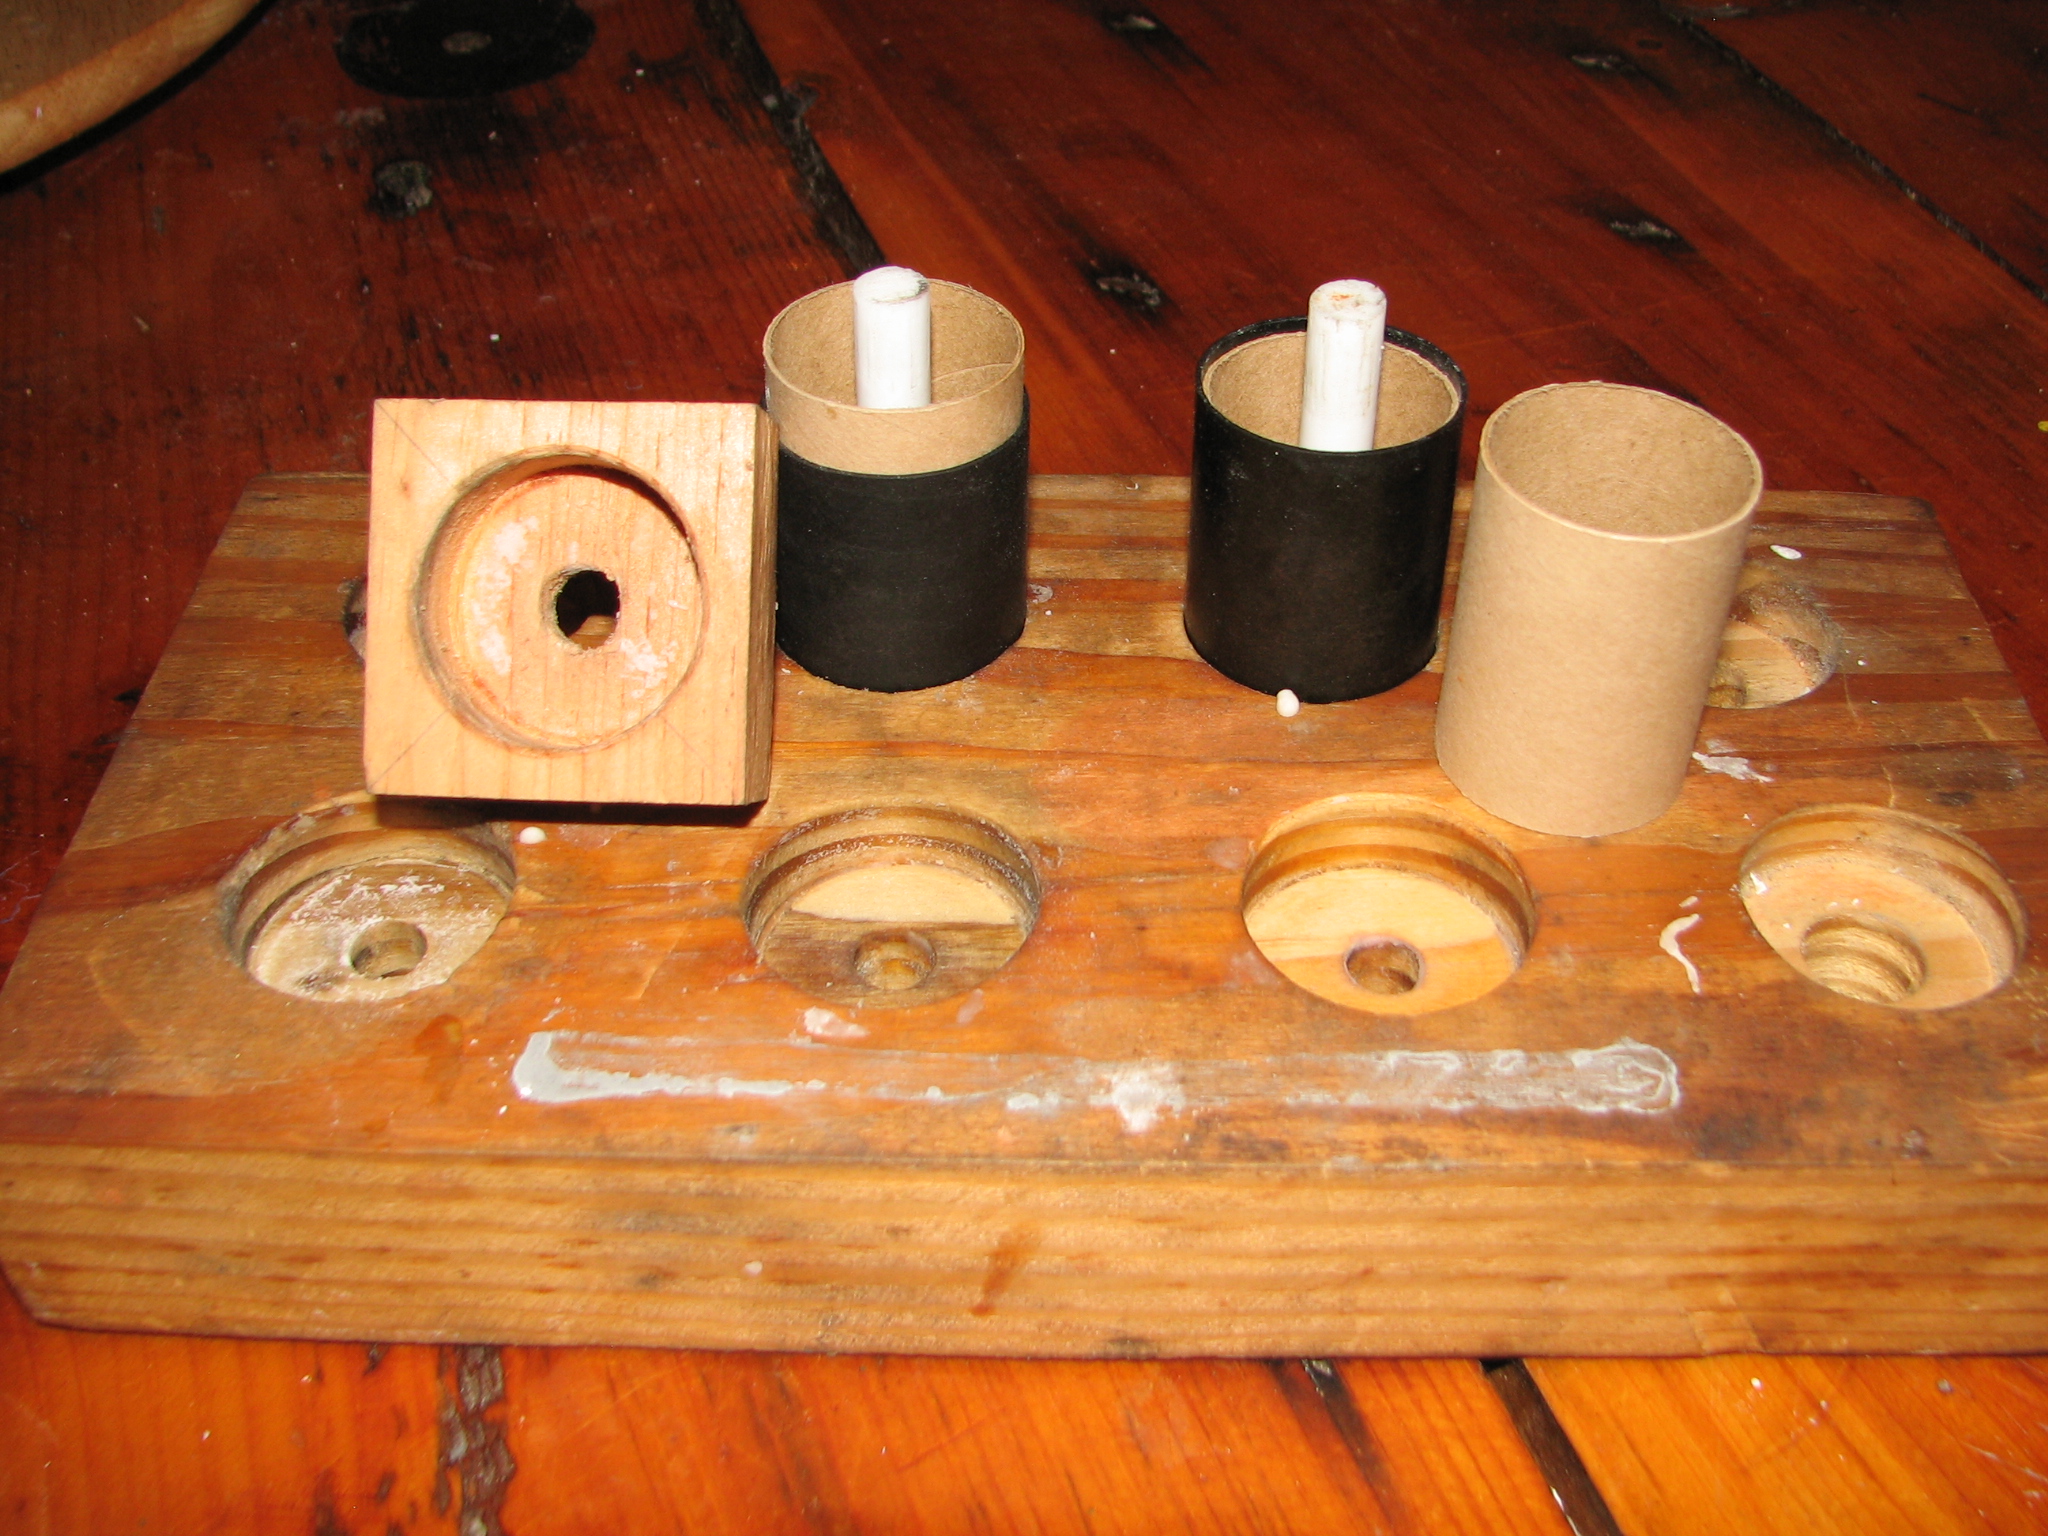
Brown tubes from Jonesville
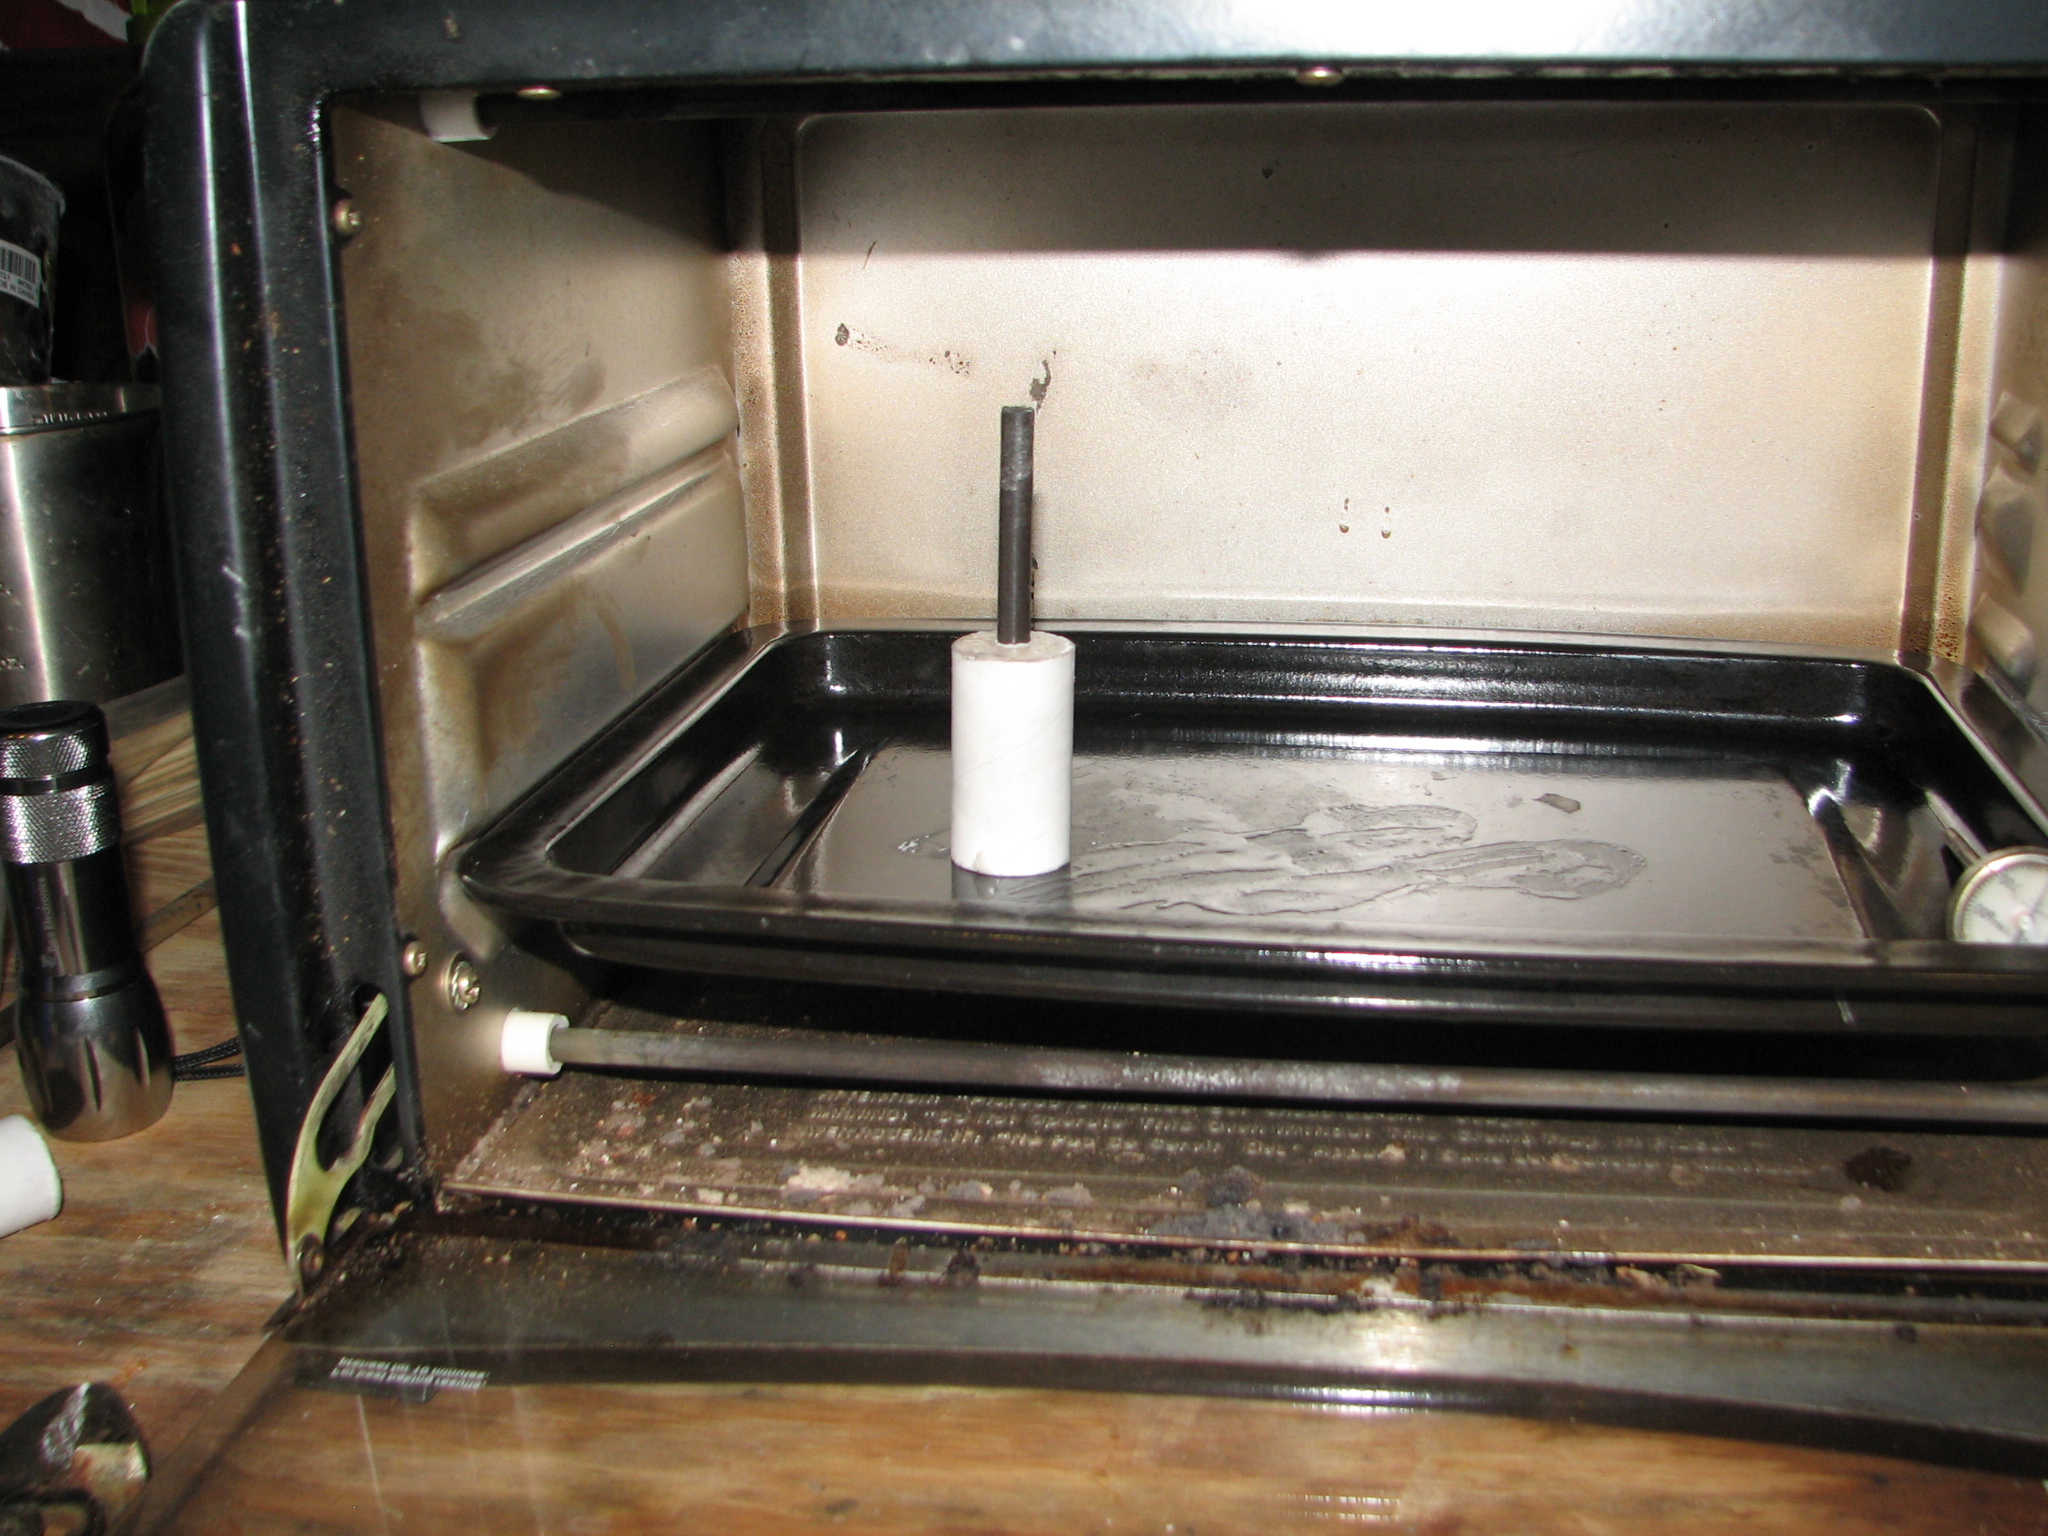
Grain Finishing